The Secret to Skin Space
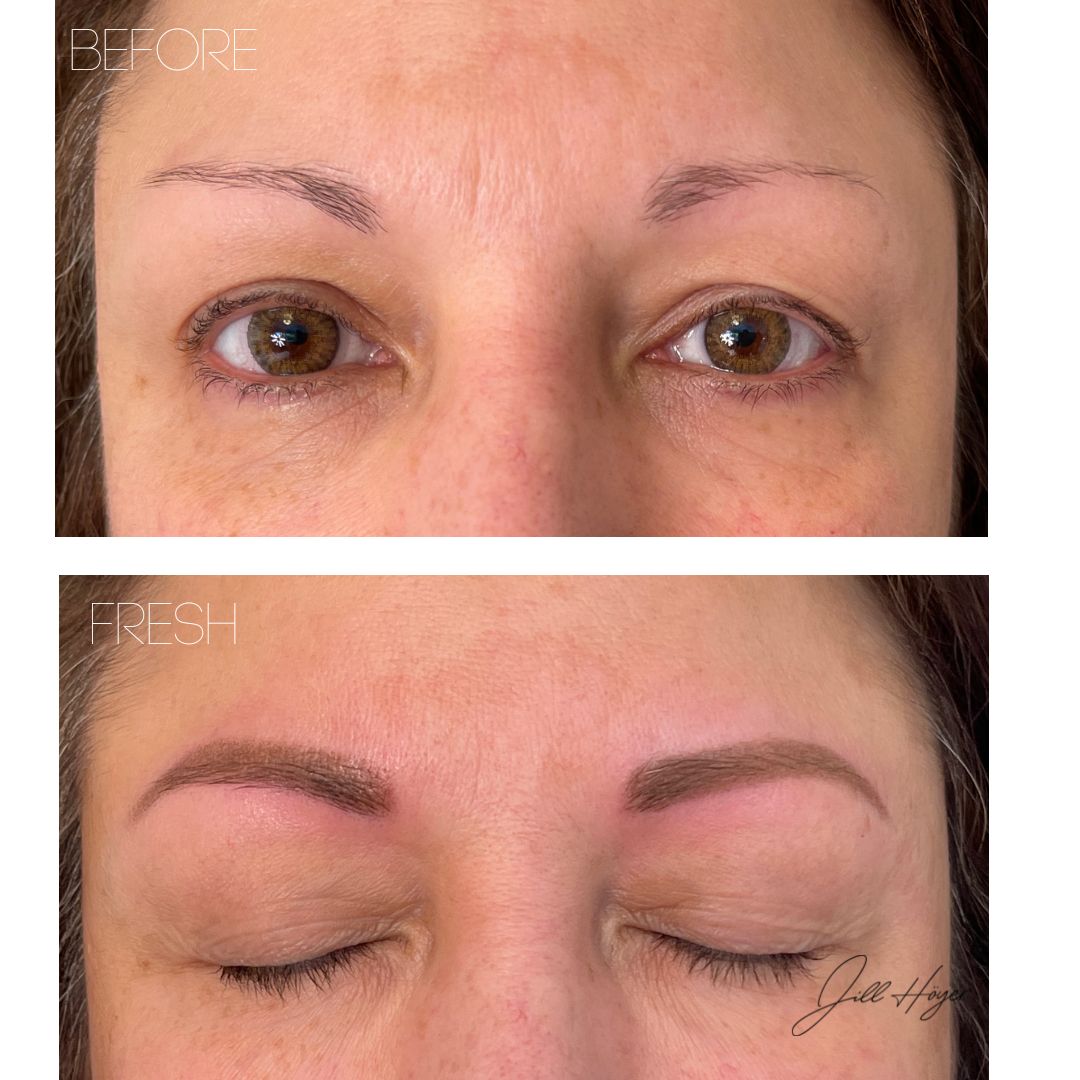
Skin Space isn't an area I forget to tattoo- it's an intentional design choice that helps create brows that heal beautifully and age naturally!
My Technique: Preparing the Skin Before the Pigment
One of the ways I consistently create soft, natural brows is by resisting the urge to chase immediate saturation.
Instead, I prepare the skin first.
I begin with what I call a priming pass—a quick, feather-light pass using little to no pigment. My goal isn’t to implant color during this first pass. It’s simply to prepare the skin.
In my experience, this gentle priming pass helps the skin become more receptive to the following pigment passes. Rather than trying to force pigment into resistant skin, I prepare the canvas first.
I also prefer to work with a slower machine speed than many artists. A slower speed encourages me to work more deliberately, allowing me to carefully observe how the skin is responding rather than rushing to achieve immediate saturation.
After priming, I intentionally slow my hand movement as well.
Instead of making repeated passes over the same area, every movement becomes more purposeful. I watch how the skin accepts pigment and let it guide my next pass.
Working with a slower machine speed, a controlled hand movement, and intentional layering allows me to build color gradually while preserving skin space.
Building Brows in Layers
I don’t try to create the finished brow in one pass.
Instead, I gradually build soft layers, allowing the skin to tell me when it has accepted enough pigment.
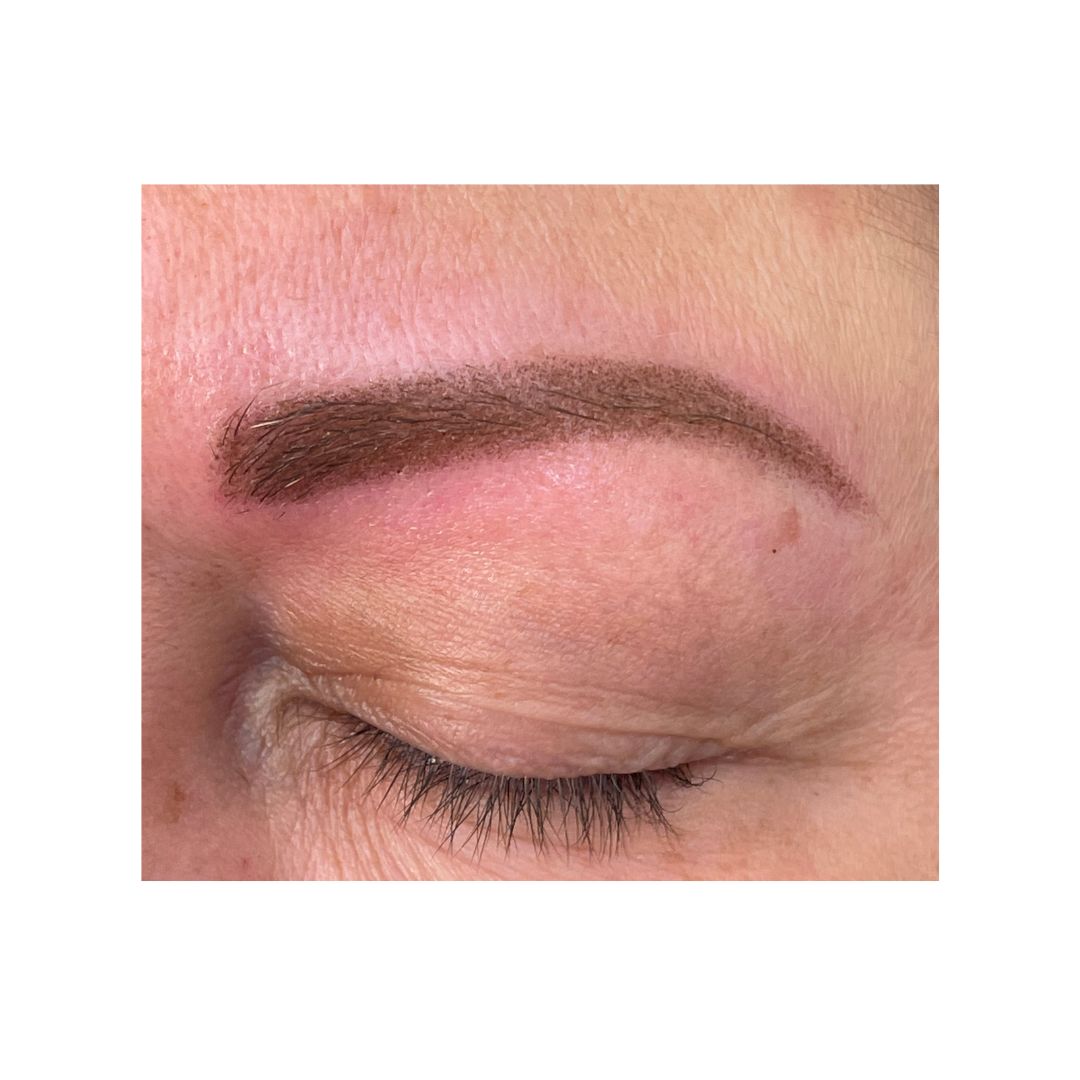
As I layer, I intentionally preserve tiny areas of untouched skin throughout the brow. Those small spaces become the secret behind healed brows that still have softness, depth, and movement.
This is skin space by design—not by accident.
To your PMU success,
![]()
PMU Artist & Needle Specialist
Inside Needle Knowledge
Purchase the I.N.K. Course Now